This post may contain affiliate links and I may earn a small commission, at no extra cost to you. When you use one of my affiliate links, the company compensates me, which helps me run this blog. Read my Privacy Policy for more information.
Adding a faux wood beam mantle to your fireplace is a budget-friendly and achievable project. In this step by step tutorial, I’m going to show you how to build a faux beam mantle. How I distressed the wood to give it an aged reclaimed wood look for a fraction of the cost of a real wood beam.
Materials Needed:
- 1 x 8 x 8 pine wood board
- 1 x 6 x 8 pine wood board
- Wood glue
- Wood filler
- Sandpaper
- Pre Stain
- Stain or Varnish
- Polyurethane (for sealing)
- Measuring tape
- Miter saw
- Table saw
- Impact Driver
- Clamps
Step-by-Step Guide:
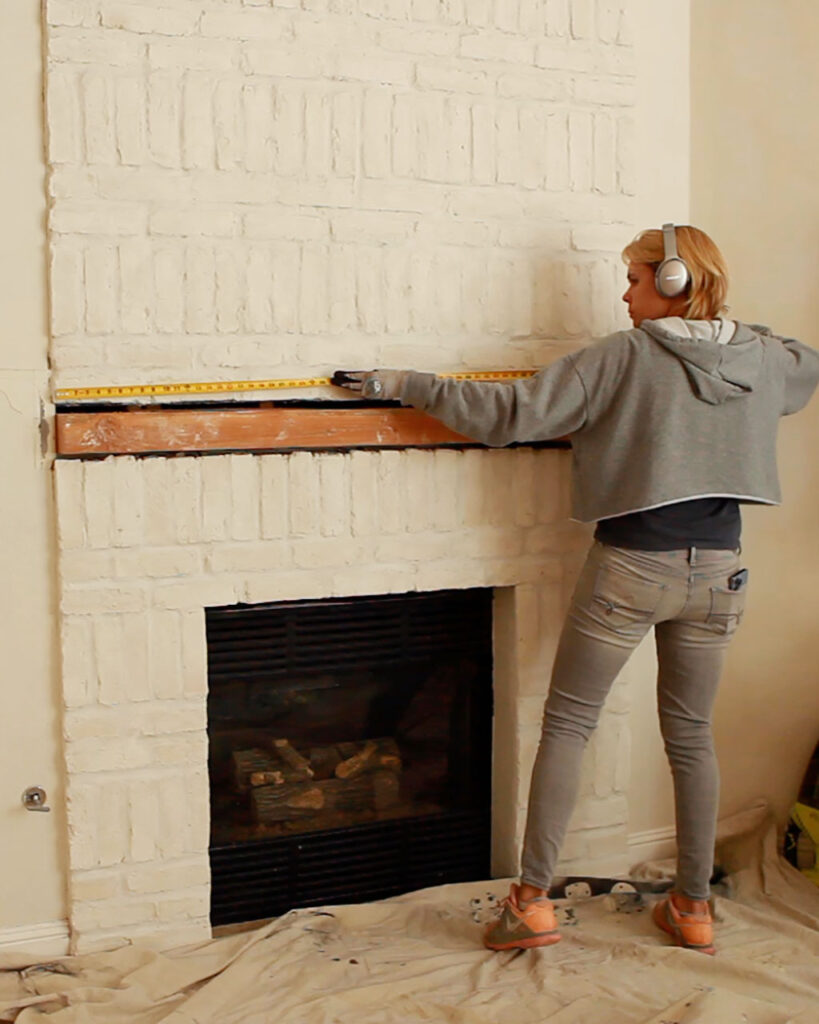
Measure Your Space:
- Measure the width of your fireplace to determine the size of your mantle.
- Decide on the depth and height of your mantle. I used an 8” width board for the top as this would be a good size for displaying decor on my faux beam mantle, and an 6″ width board for the front facing piece.
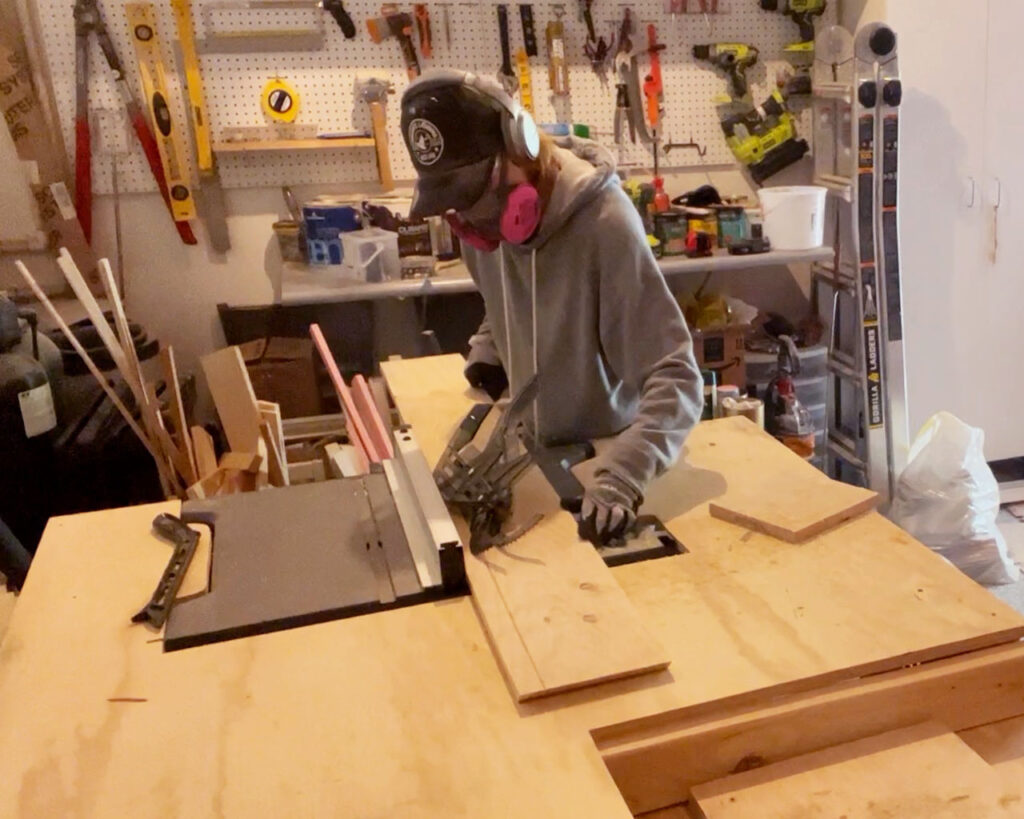
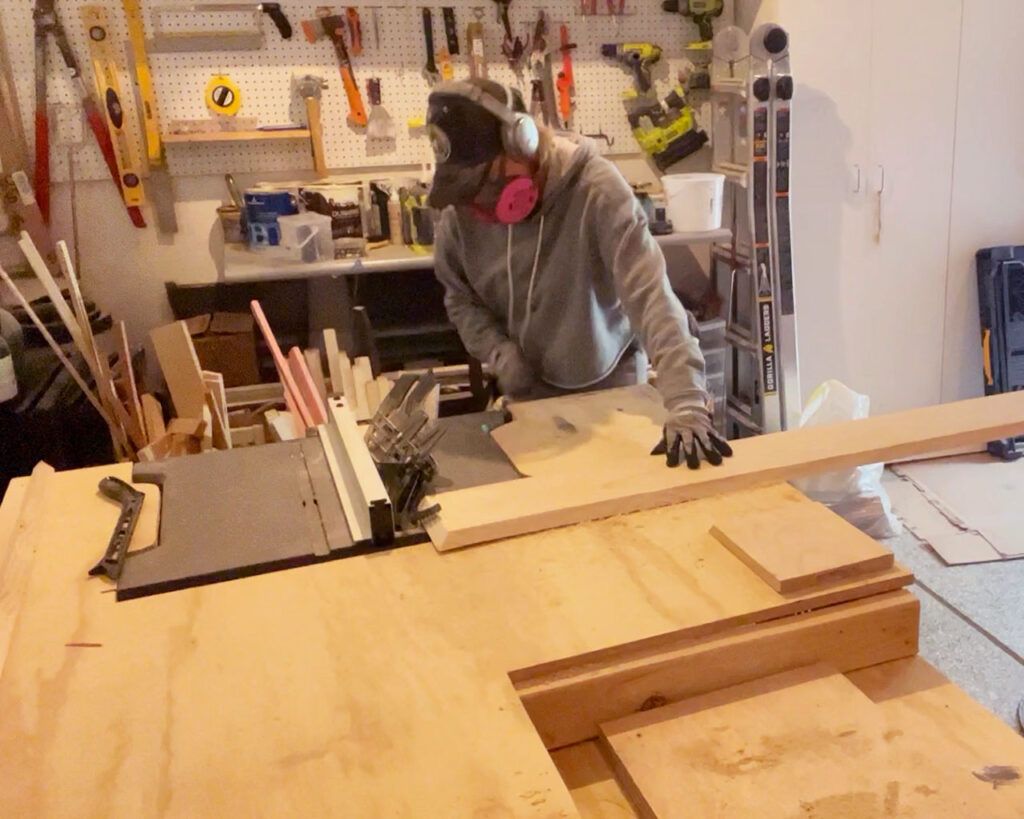
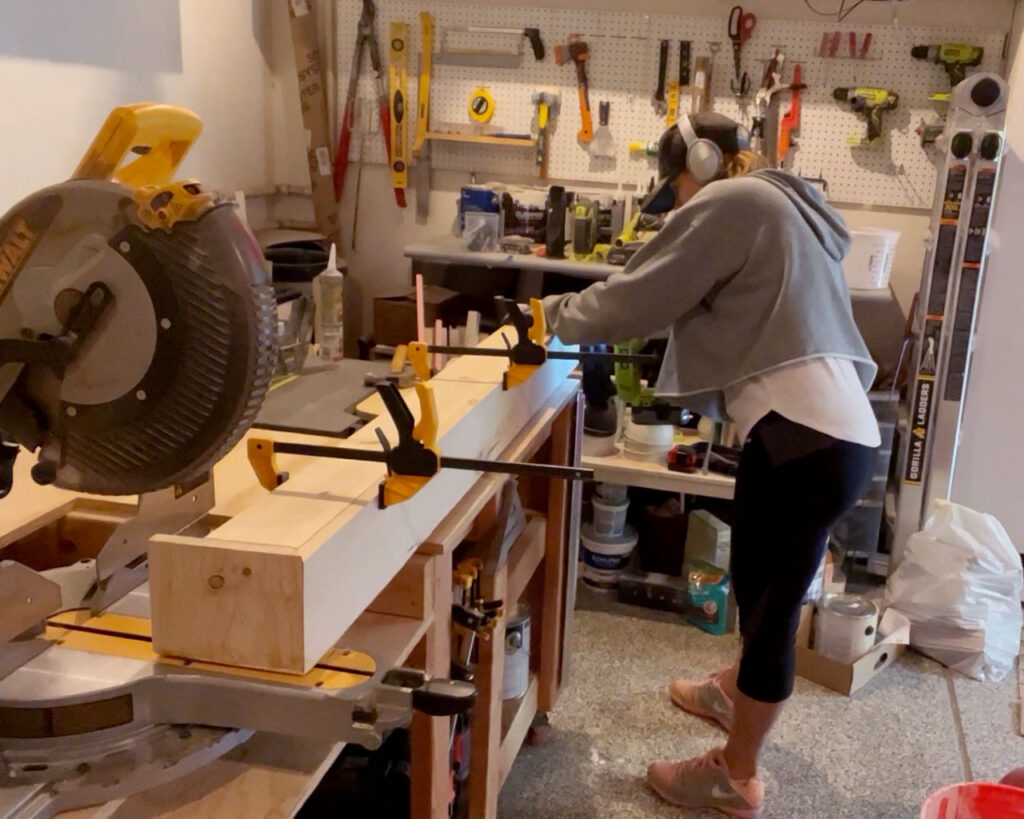
Cut the Wood:
- In order to achieve the illusion of a single beam or solid piece of wood, it’s important that the cuts for 3 of the sides of each piece be made at a 45-degree angle along the entire length of the wood boards.
- I used a table saw with a 45 degree angle and cut the wood boards to the length of the framework to which my faux beam will sit on top.
- Cut the top and front facing pieces to the same length.
- Cut the side pieces to match the height you want for your mantle.
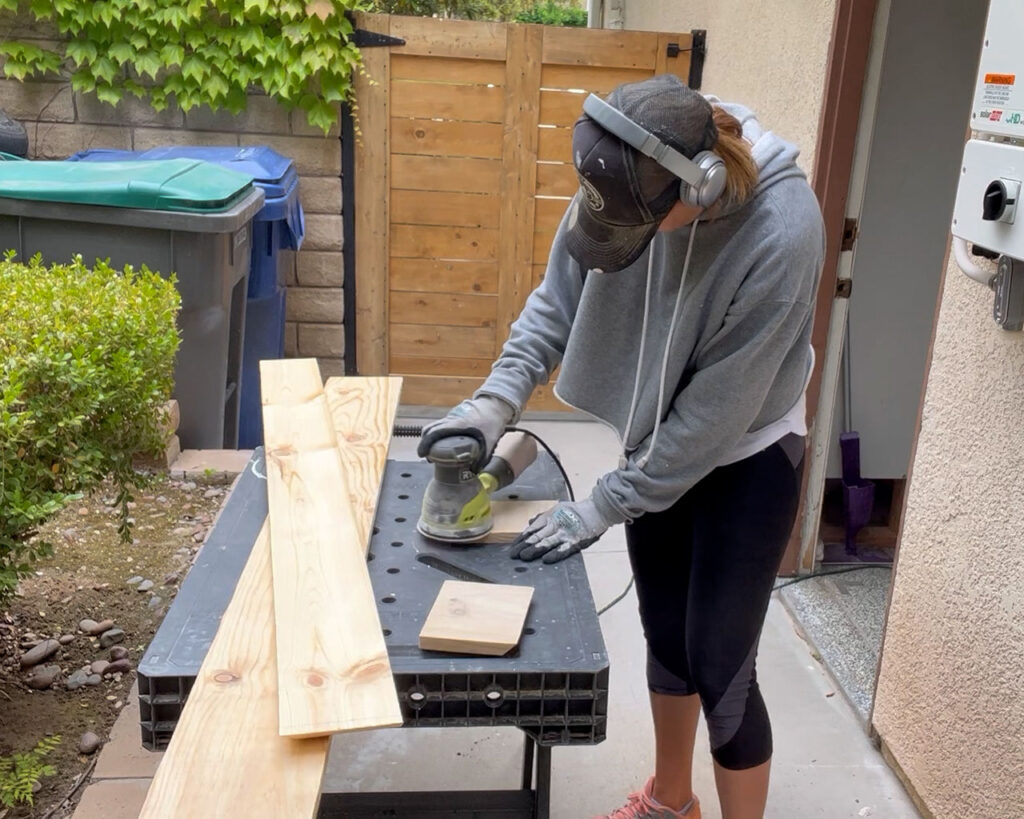
- Sand all the pieces of wood.
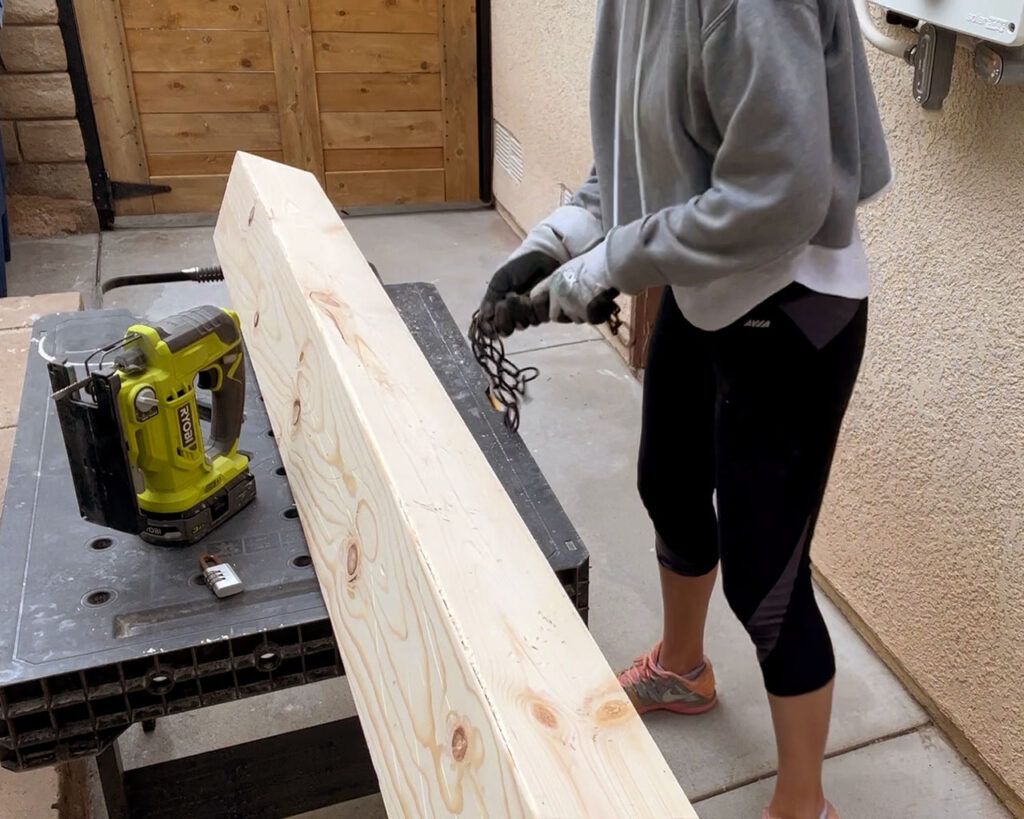
Assemble the Faux Wood Beam:
- To minimize the margin for errors and simplify the process, I attached the faux beam together while on top of the framework, that way it would be a perfect fit.
- Apply wood glue along the edges of the wood boards.
- Attach the side pieces to the top and front facing wood boards.
- Use Brad nails to hold the wood in place until the glue drys.
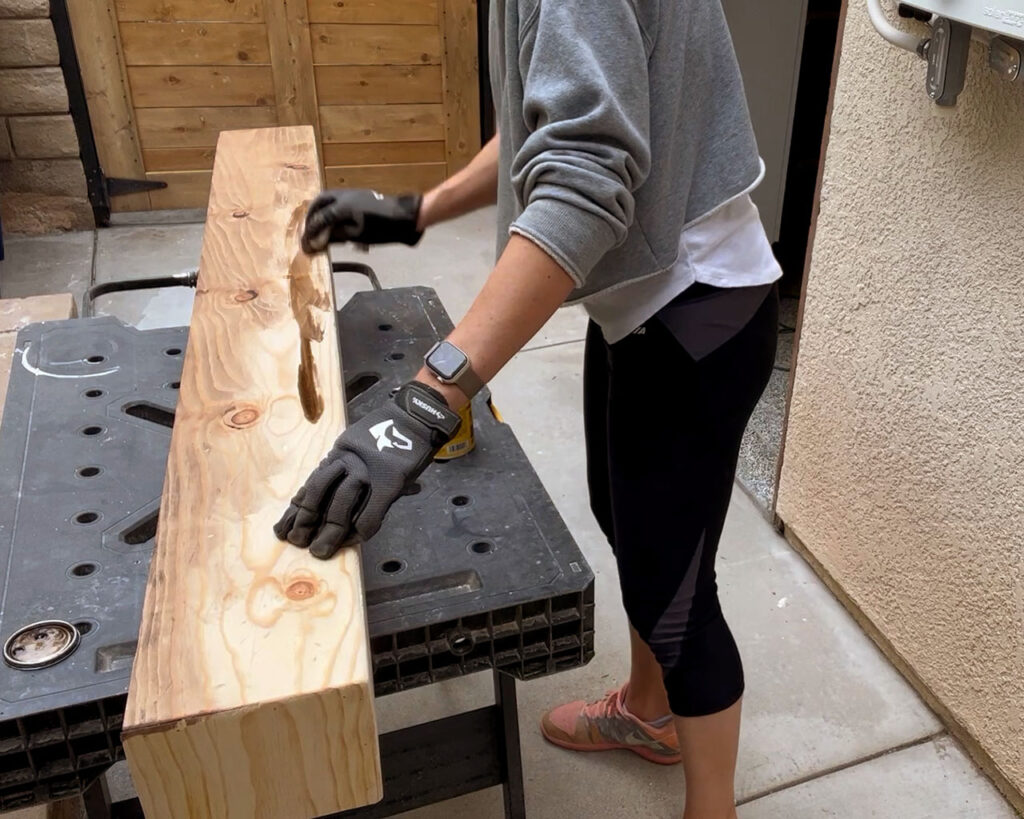
Attach the Bottom Wood Piece:
- Once the glue sets, remove the faux beam. To complete the seamless look, a bottom board would need to be added.
- Cut an additional piece of wood for the bottom of the box. Since this piece would not be viewed, it did not need a 45 degree angle cut.
- Attach it using wood glue, clamps and brad nails, ensuring its secure.
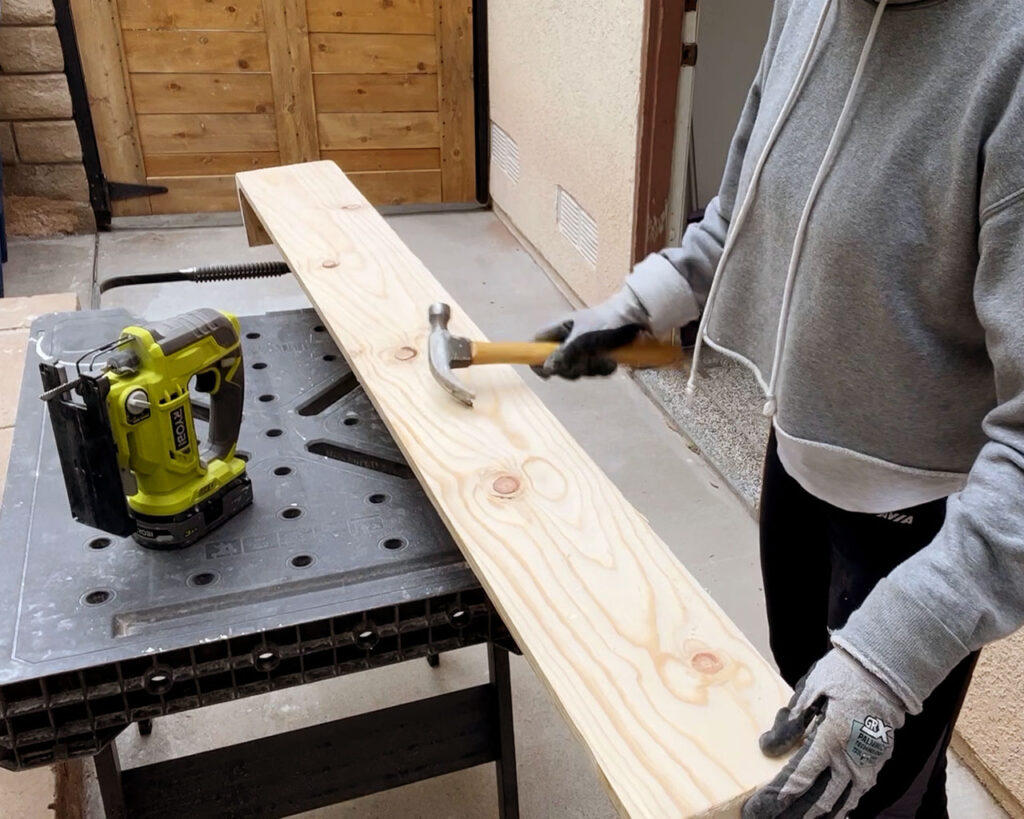
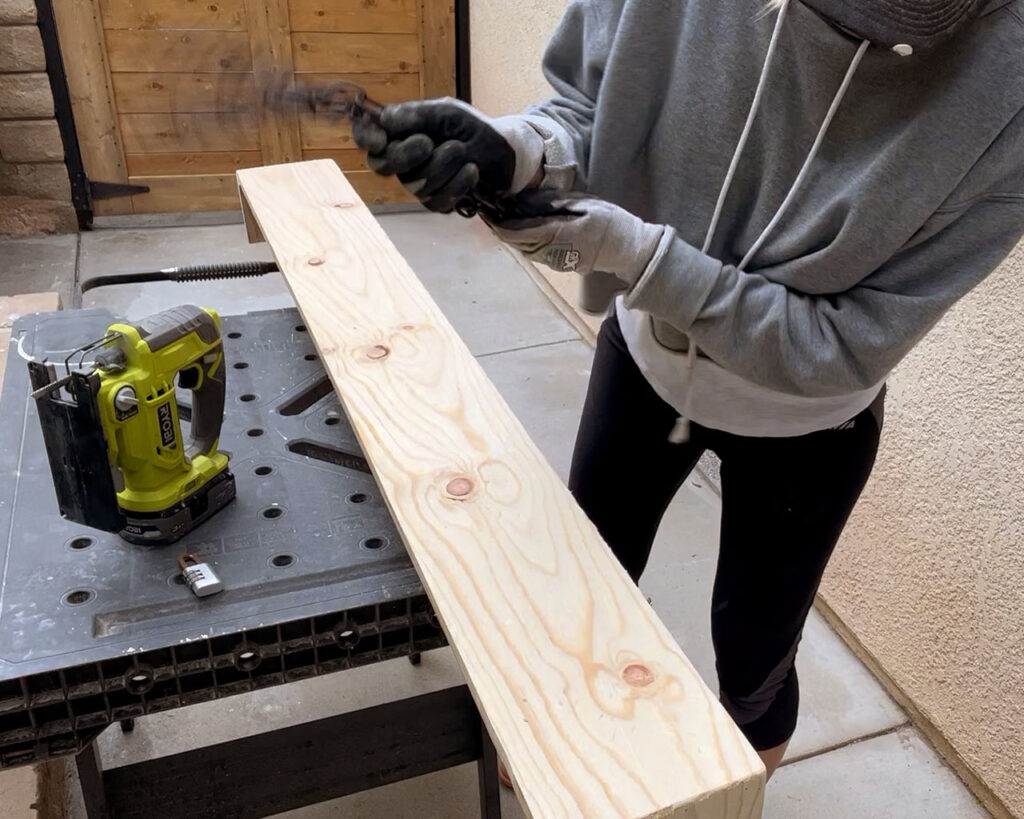
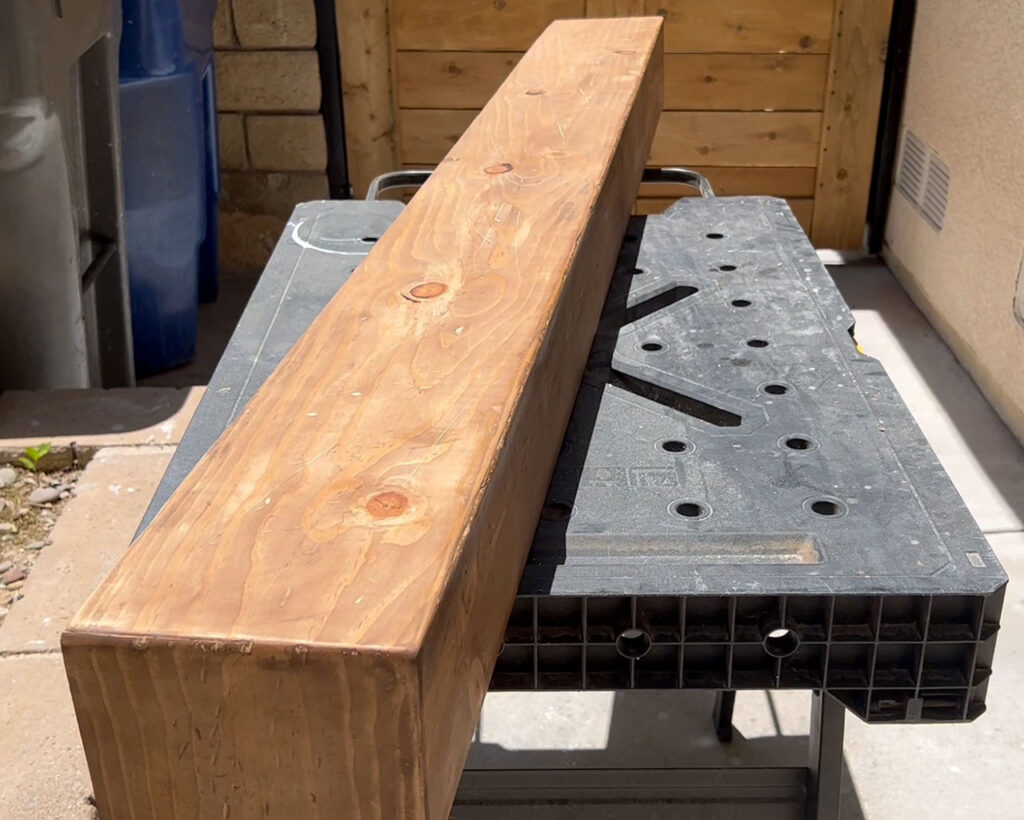
Reclaimed wood look
- In an effort to give the mantel character, I wanted to distress the wood and make it look old and weathered. I beat the mantle with a hammer and literally any hard tool I could find in my garage.
Sand and Finish:
- Sand all surfaces of the assembled box to remove the rough edges.
- Fill any gaps or holes with wood filler.
- Sand again for a smooth finish.
- Apply a coat of pre-stain to prevent blotches or inconsistencies when applying the vanish
- Varnish the mantle in your desired color using a cloth, I used mini wax special walnut, my favorite color.
- Apply three coats of polyurethane to seal and protect the wood. Don’t forget to sand in-between coats for a smooth finish.
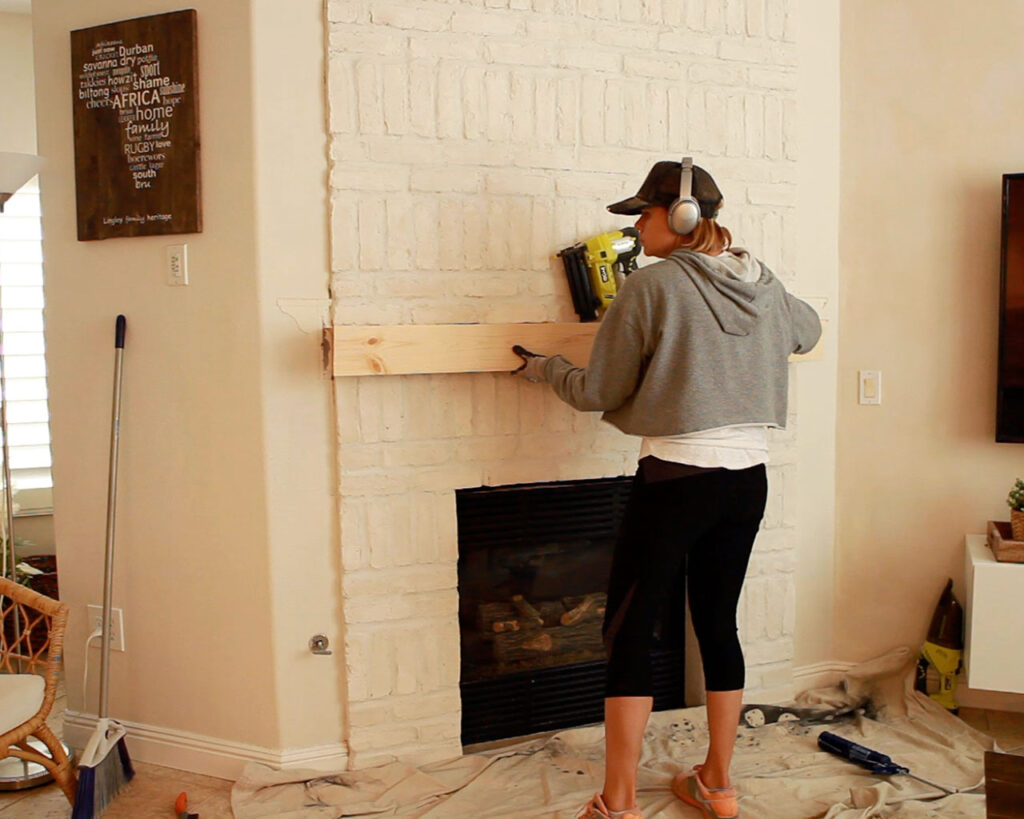
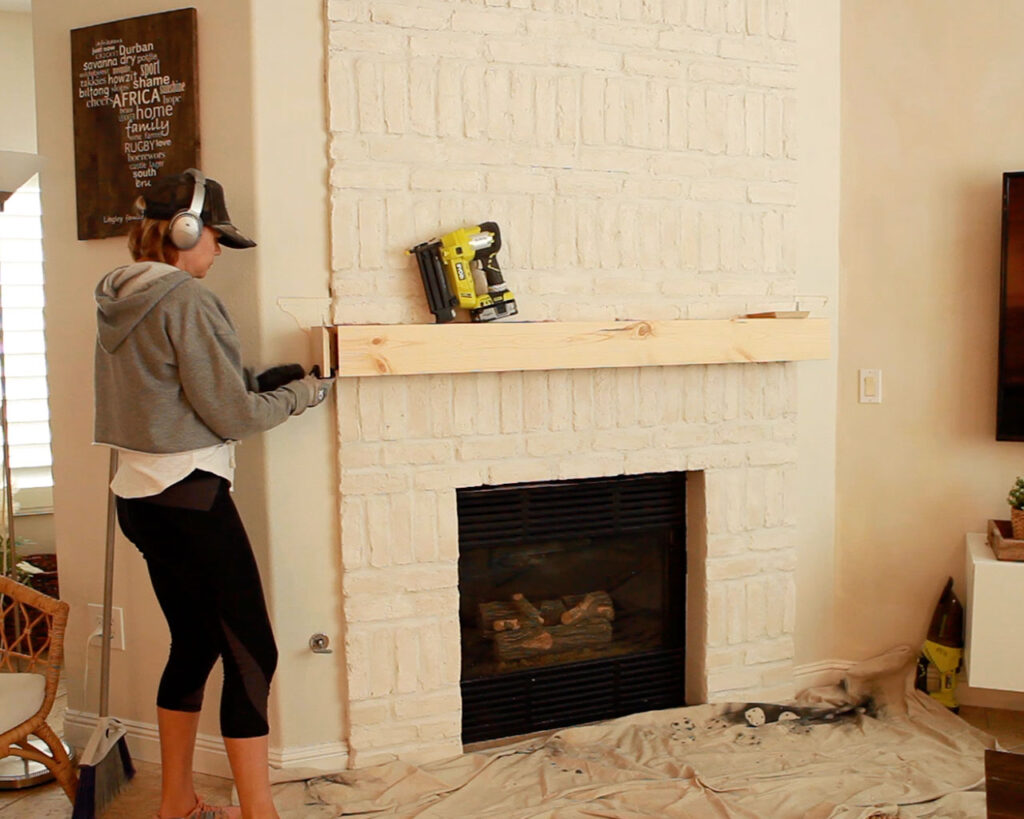
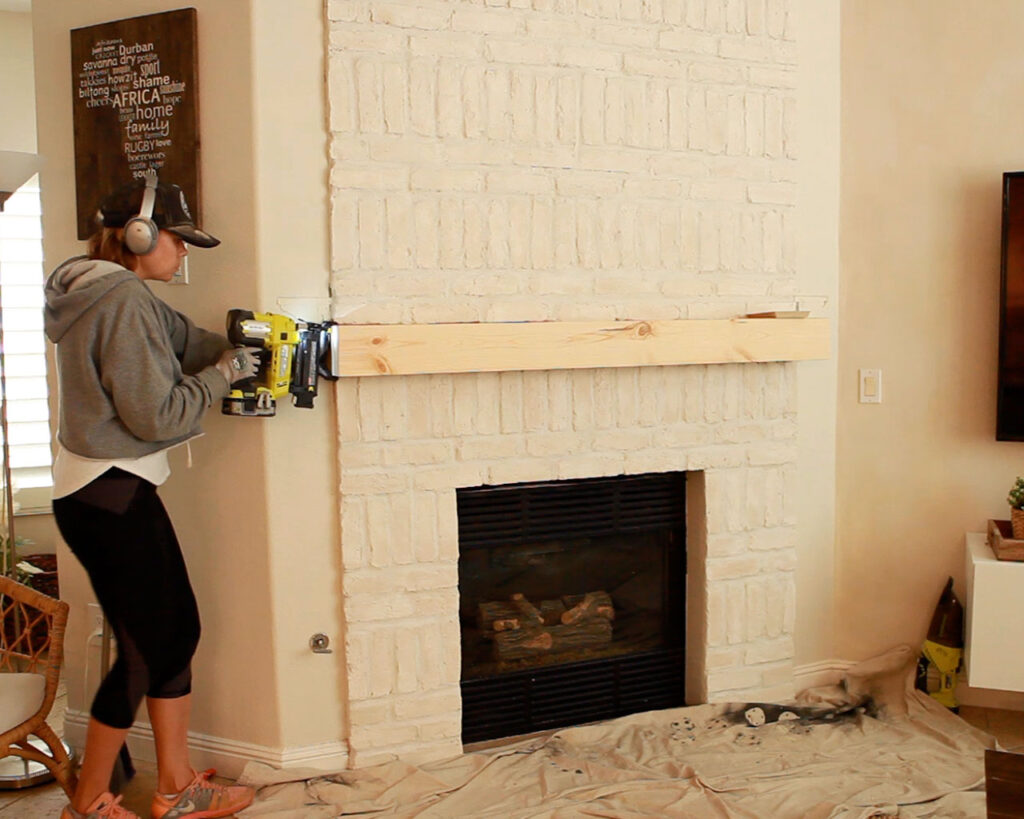
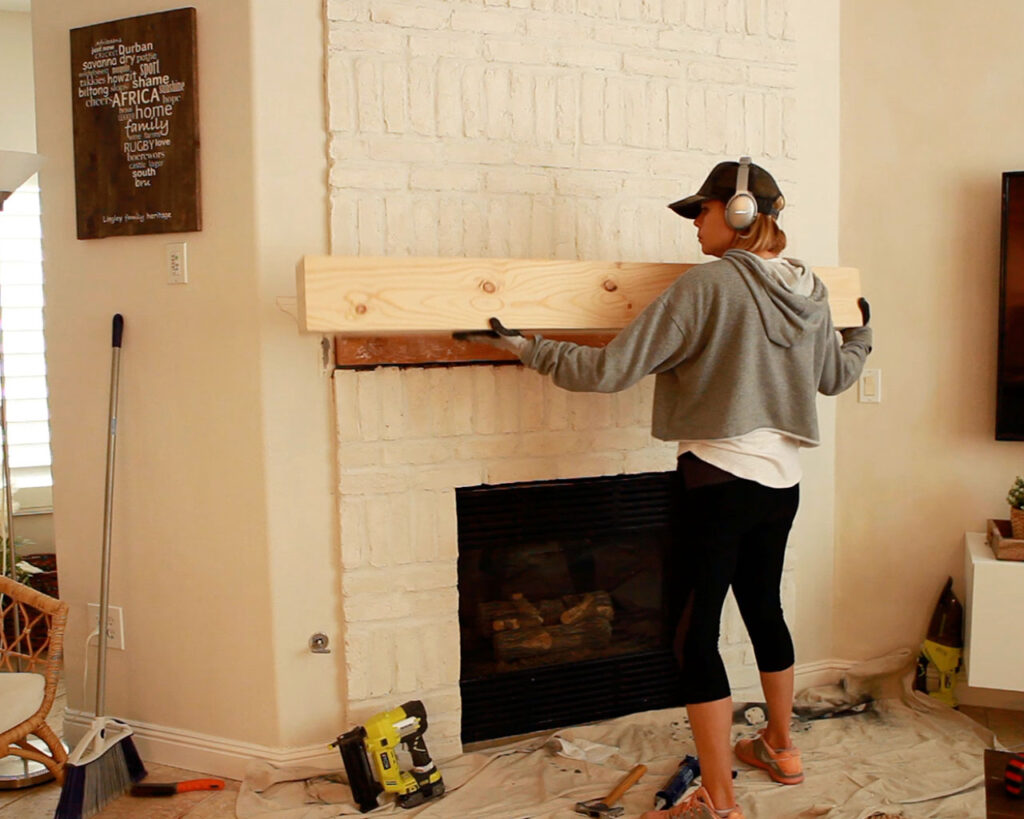
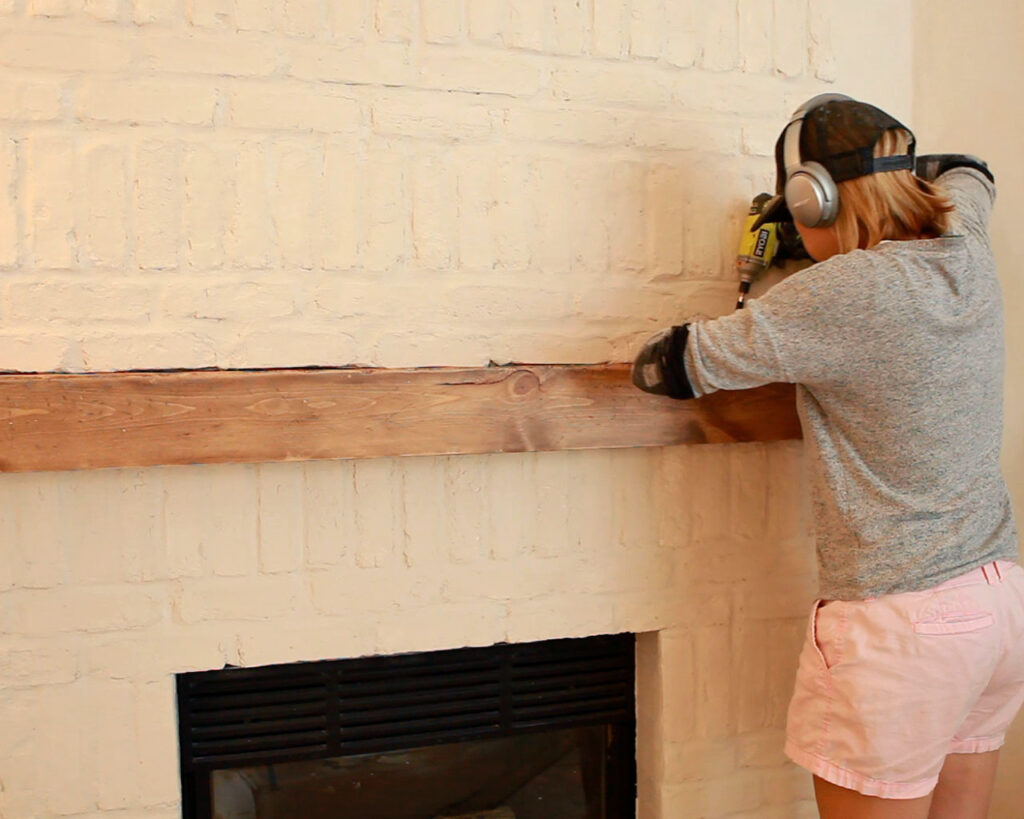
Mount the Faux Wood Beam:
- Position the faux beam mantle over the framework
- Secure the mantle to the framework using 2” screws, ensuring it’s level and firmly attached.

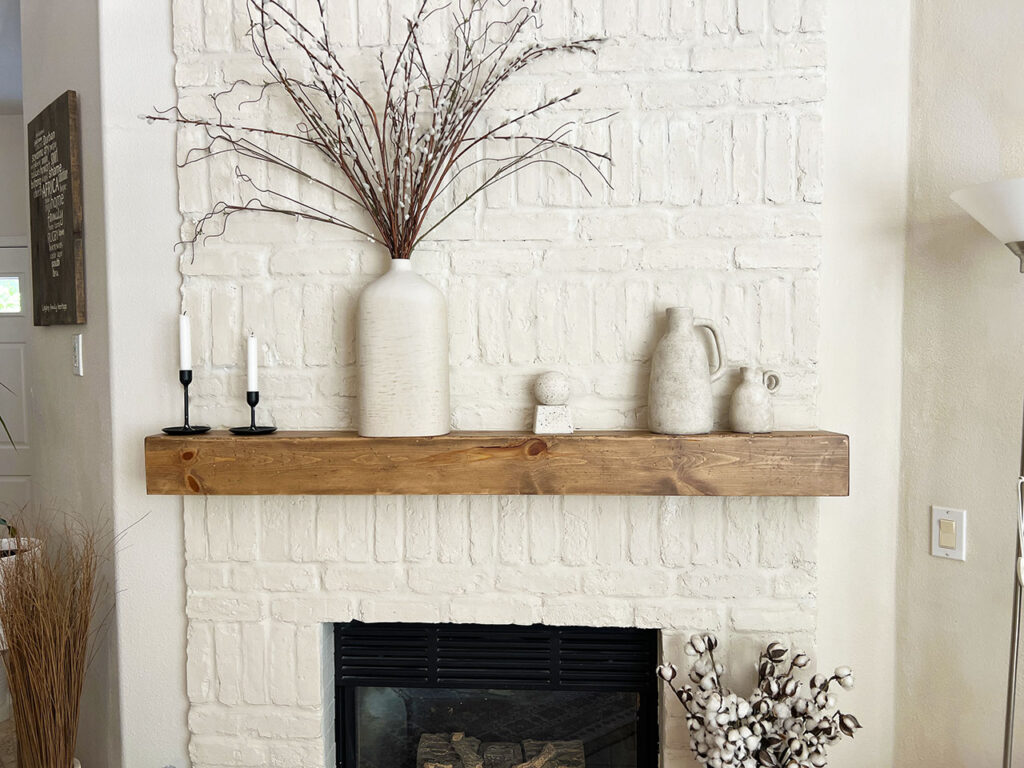
Final Touches to the Fireplace Mantle:
- Touch up any areas that need it.
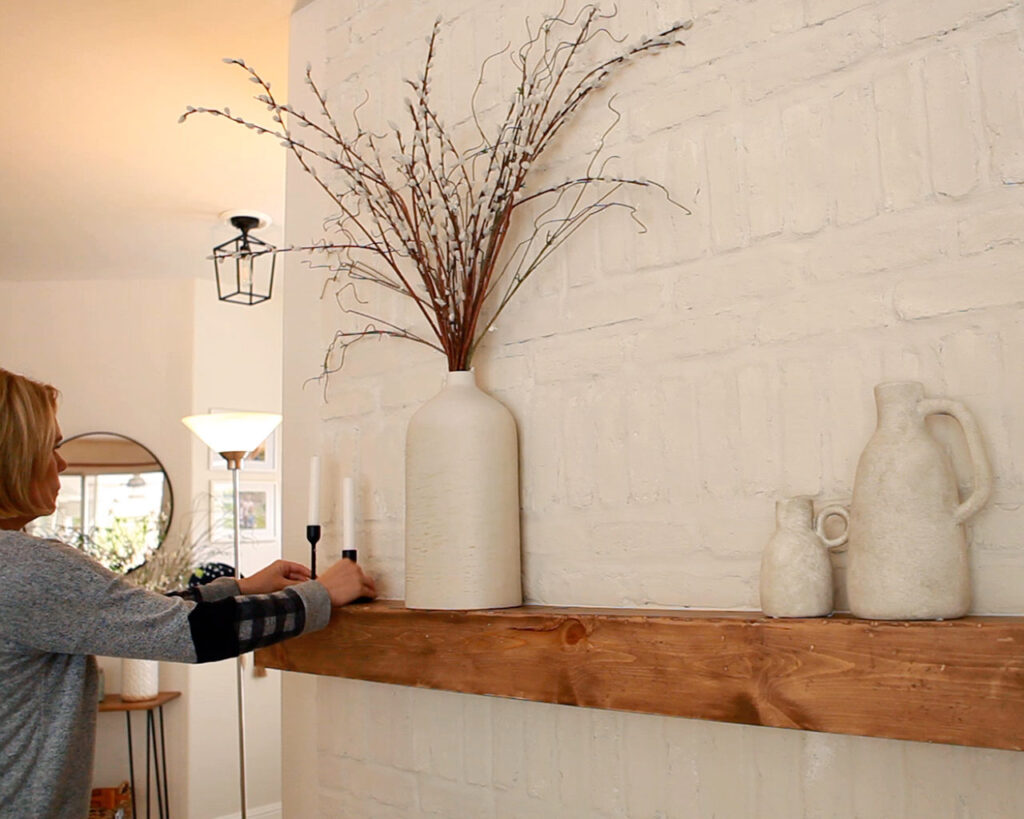
- Decorate your new fireplace mantle!

Overcoming Mistakes:
Mistakes happen to the best of us, and they can be frustrating. During the process of creating this faux beam mantle, I faced some challenges but overcame these hurdles and turned setbacks into success. Watch my YouTube video to see how.
Conclusion:
Creating a faux beam fireplace mantle is a rewarding and budget friendly DIY project that can enhance the look of your living space. While the process involves planning and precise execution, even mistakes can lead to valuable lessons and creative solutions. By taking your time, double-checking measurements, and maintaining a positive attitude, you can create a beautiful, custom mantle that adds warmth and character to your home.
Embrace the challenges and enjoy the satisfaction of a job well done!
Check out my previous post, How to add veneer brick to update your Fireplace
This post may contain affiliate links and as an Amazon Associate I may earn a small commission, at no extra cost to you. Thank you for your support.